If there is one thing that sets a good camp apart from a great camp it’s ensuring that there is someone with you that knows how to build a campfire. A trip into the great outdoors just wouldn’t be the same without a campfire!
Not only is campfire cooking one of our favorite things to do but there is an almost primal attraction to the campfire that has been hard to explain. The good news is that now there are actually people that have explained that looking into a campfire at night is not only good for you, but it can also actually reduce your blood pressure and take away some of your feelings of stress. We thought it was just great to get warm after a long day in the great outdoors.
Whether you are a newbie when it comes to building fires or you are looking for ways to refine your skills in building and cooking over a campfire, you have come to the right place. Our intention is to break down the process of building a great campfire, into a step-by-step process that you can repeat at your next trip away.
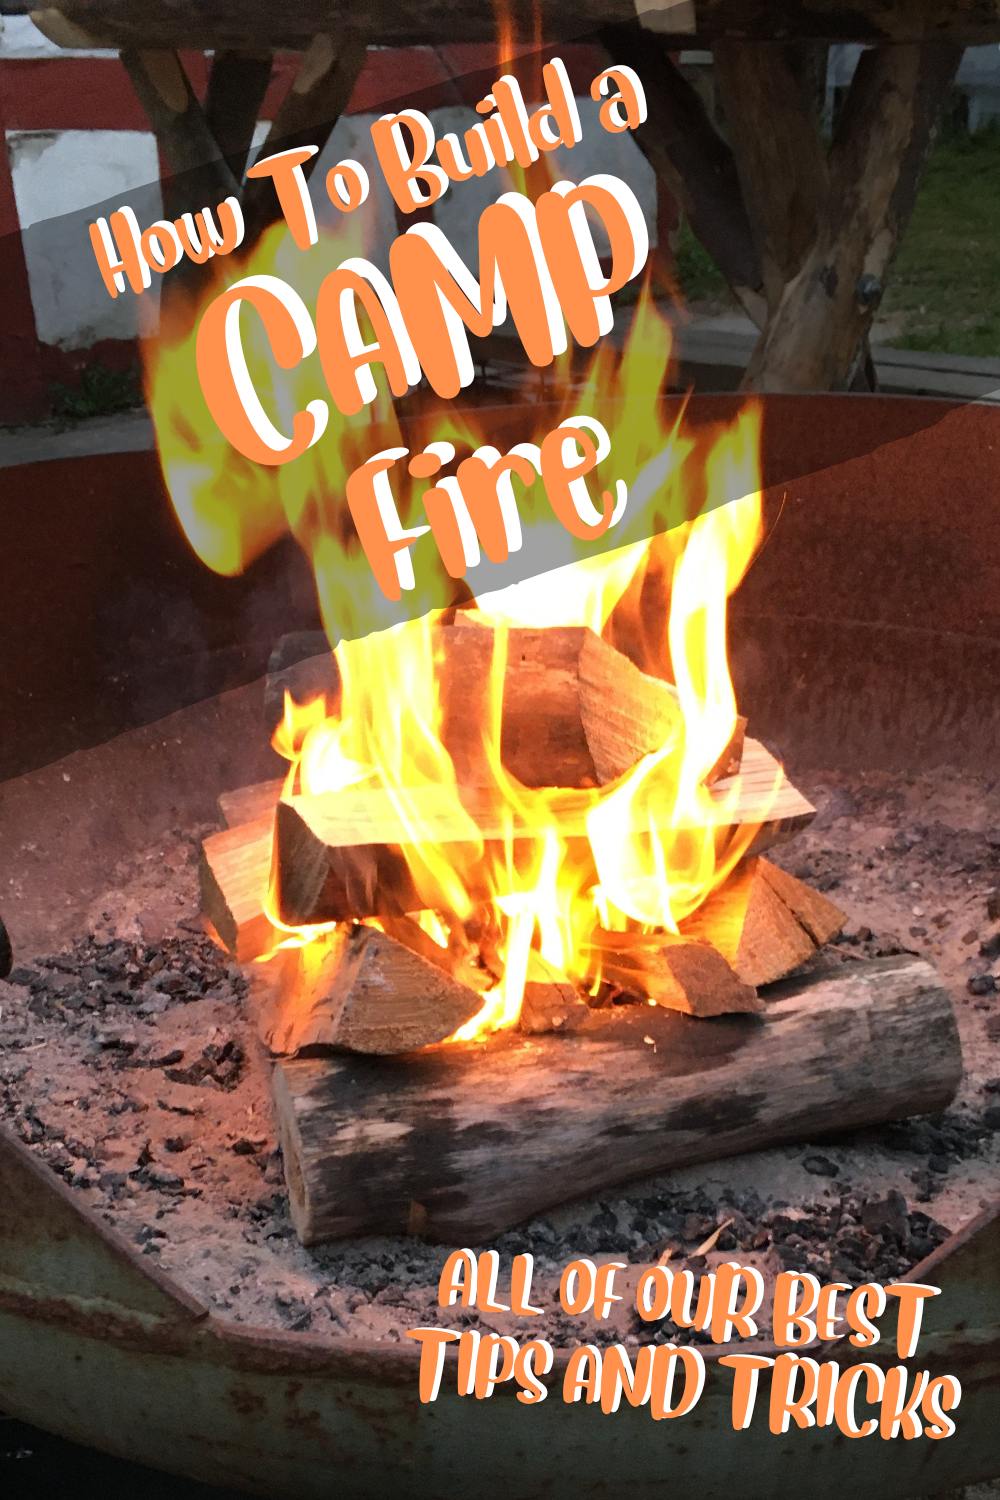
How To Build A Campfire
Building a campfire doesn’t have to be complicated – it can be fun to play with different techniques of starting a fire and challenging yourself as to how you get it started. We usually use paper and wood, or even just wood, for starting our campfires, but occasionally we use some of the amazing helpers available to get a fire going quickly.
How do you make a campfire step by step
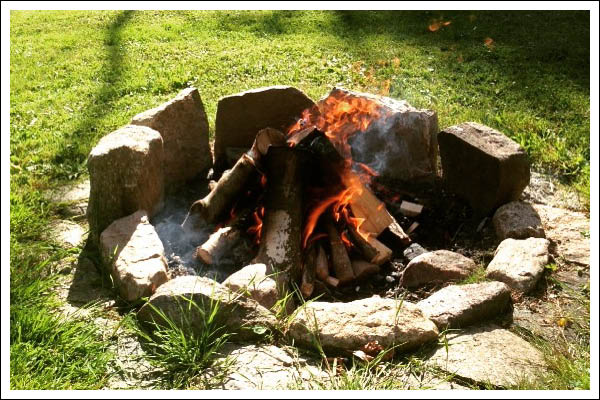
- Choose a safe location for your campfire.
- Collect enough tinder to fill your hands. Tinder should be no thicker than a pencil lead- the smaller the better.
- Collect enough kindling to fill your arms. Kindling should be as thick as your fingers.
- Collect some “fuel” – big pieces of wood as thick as your arm.
- Take some paper and roll it loosely into a ball.
- Create a “teepee” around the paper with all the tinder.
- Stack some of the kindling around the outside of the tinder.
- Stack a few of the “fuel” pieces of wood around the kindling.
- Light the paper in the middle of your fire with a match or lighter.
- Enjoy your campfire
WARNING: Only ever create a campfire in locations approved by the campsite owner. One Mighty Family is not responsible for your campfire – you must know the rules that apply if you choose to light a fire.
Now let’s look at how to make a campfire in a little more detail.
We are sharing all our best tips and tricks for building a calming campfire, perfect for spending an evening stargazing beside. We’d love to see a picture of you enjoying your campfire once you’ve done it – tag us on social media at @onemightyfamily.
You might also like: Tips for Camping With Toddlers
The Basics of Campfire Building: Getting Started
OBS: Please make sure that you are allowed to create a campfire where you are, and make sure that you only build a fire in a fire ring or that you create a safe spot for your fire.
There are a few decisions you need to make before you start building your fire. What do you need to use your fire for? While a good campfire can come together by adding branches to a pile, it’s easier for you to build a fire for your needs if you know your needs. Do you need the heat from the fire for cooking, do you need it to reflect heat to the people seated around the fire and how long do you need it to burn for?
Campfire Building Techniques
Once you know what you want to do with your fire its time to choose the technique you want to use for your fire. Here are some of the fires we use often when we camp.
Teepee Fire: The starter fire. We use this type of fire as the base of most of our campfires. As the name suggests you build the fire around a ball of something flammable (we use paper but sometimes we also use firestarters). On top of this middle structure, you place sticks of gradually bigger variety. Each stick leans on the last one creating a structure of a teepee.
Log Cabin Fire: While you keep the teepee structure in the middle for this fire (as explained below) you stack the larger wood around the middle teepee. Place the firewood in a square shape, two and two, on opesite angle atop of eachother creating a log cabin shape. This fire gives great airflow and is good for a steady burn fueling the heat upwards for your pots when cooking.
Star Fire: While you still have a teepee shape in the middle of your fire to start you place the bigger logs around the teepee fire – like a star – that can then be pushed closer and slower to the middle as they burn. This is a great shape for fires in very windy conditions.
Reflector Fire: Again you have the teepee fire as the structure of the fire, but you make sure to build the fire with very big logs to one side. This ensures that the heat from the campfire will move in the opposite direction to where the giant log is placed. This can be useful if you are out alone, and need as much heat as possible to your person.
How to fuel your campfire – gather and prepare your materials.
Its important when you look at the materials for your fire that they are as dry as posible. Wet firewood is one of the most common causes of heavy smoke from the campfire.
To make a great campfire, you need to build it up with small branches, or wood chips in the middle, and then add gradually bigger pieces of wood on the outside.
The small pieces of tinder in the middle should catch fire long enough for the kindling to start burning. Then the kindling needs to burn long enough for the bigger pieces of wood to catch fire. These are the pieces that give the best heat, and that you can cook on.
Fill Your Hands With Tinder
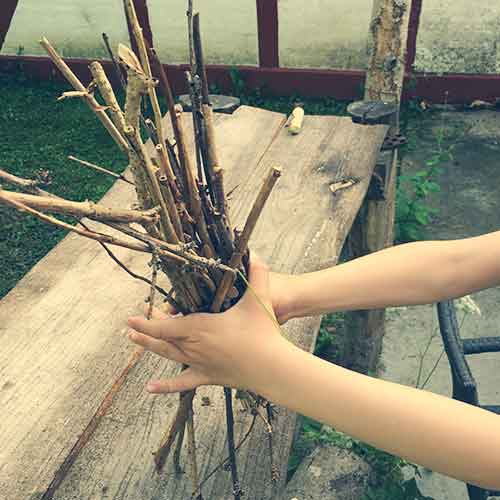
To make sure you have enough tinder to get the fire started, you need to fill your hands with tinder.
This needs to be very dry, with each piece about the size of a pencil lead. (In the picture above, ours was a little thick.) If you think your twigs are too big, you can split them (carefully) with a knife or our favorite – the log splitter. These will be in the very middle of your fire. Place them in the center of the fire, around some paper if you have it. An old newspaper is great for this. Once you’ve finished setting it, you’ll start your fire by putting a match to the paper in the middle.
If the pieces of tinder you find are longer than from little finger to thumb, go ahead and break them in two, that’s what we do. Make sure you stack them like a teepee, leaving a small opening, so you can reach into the paper, (this makes it easier to start your fire). Don’t light it just yet – we need kindling too!
Kindling Wood
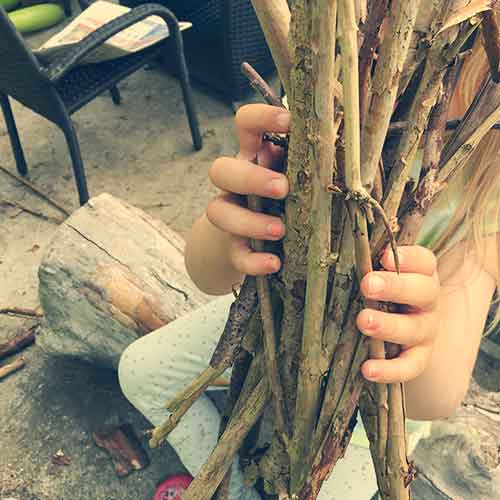
Once you have the tinder, you need to start looking for kindling. Stack the kindling wood around the outside of the tinder, so it can catch fire next. Each piece of kindling should be about as thick as a thumb, and as long as your arm from fingertips to elbow.
You should have enough kindling to fill your arms completely. Stack some of the kindling around the tinder before you light the fire, but also leave some next to the fireplace to put on later.
Place your kindling on top of the tinder in the “teepee” you’ve created. Build from the middle and outwards into what will become your campfire.
Firewood
Now comes the main fuel of your fire – the firewood. These are logs about the size of your wrist and as long as your arm. You can wait to add these to the fire until you have the tinder and the kindling going. These pieces of wood are big enough to fuel the fire for longer. Once they get going they will burn for about an hour (depending on the type of wood), and they are the logs that you can eventually cook something over.
Often asked questions about building a campfire:
What are the best practices for extinguishing a campfire safely to ensure it is completely out?
Always ensure your campfire is completely extinguished before leaving. Douse it with water, stir the ashes, and apply more water. Repeat until the site is cool to the touch. Safety first means leaving no trace of fire behind.
How does one adjust the campfire setup for cooking purposes, such as grilling or boiling water?
For cooking, create a stable platform or use hot coals for even heat distribution. Techniques vary whether you’re grilling or boiling, so consider the fire’s structure for your culinary needs. Adaptability is key to campfire cooking success.
Are there specific types of wood that should be avoided due to toxic smoke or poor burning qualities?
Not all wood is campfire-friendly. Avoid using poison ivy, oak, or sumac wood, as burning these can release harmful toxins. Also, wet or green wood smokes excessively and burns poorly. Choose your firewood wisely for a pleasant campfire experience.
Enjoy your campfire
Following the steps above you should now have a roaring campfire. This can be used for cooking, baking, celebrating, hygge, or just good old relaxing while staring into.
We use our campfires for all of the above. Some of our favorite campfire recipes are Dutch Oven Pulled Pork, Campfire Bread (also in the Dutch oven), Elderflower pancakes and, in case you’d like a change from pork – Pulled Chicken. 🙂
If you’ve never tried cooking over a campfire with a Dutch oven before, then take a look at Dutch Oven Campfire Cooking for Beginners.
Now, the only thing left is making those smurfs – or your favorite campfire food.
We’d love to hear details in the comments below – we’re always looking for new recipes for tasty campfire treats!
When will you be building your next campfire?
Until next time
Malene


That sounds amazing! Best of luck with it!
We are having a dutch oven cooking contest at our next girls campout. I would like to bake bread in…
Thank you, Much appreciated (And I may have gotten that word wrong, but the feeling is true :-) ) Have…